Removing vignetting
 In PhotoShop 5
by Lorenzo Comolli
One of the first problems that rise when you
try to process a deep sky image in a graphical software is the vignetting:
in fact increasing the contrast of the photographed subjects, it is increased
also the contrast of the background sky, resulting in an unpleasant manner
the vignetting.
I was inspired vaguely by the technique
of the flat-field used in the elaboration of the CCD images, I have created
two techniques for reducing the problem. But it's to be noticed that nothing
could replace an image whithout vignetting in origin!

Figure 1
|
The problem has risen me in
the processing of images taken through a Schmidt-Cassegrain telescope and
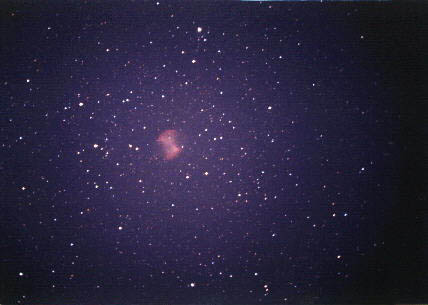
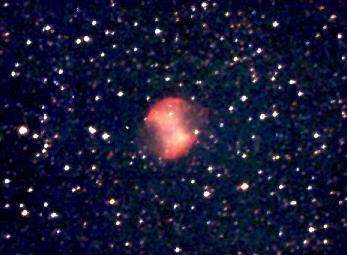
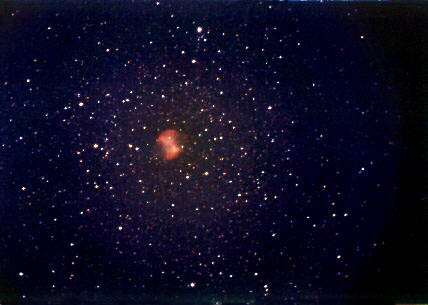
a f/ 6,3 focal reducer. Here to side (figure 1) we see the image of M27
like it result after the scanning, without any processing. The tracking
is not perfect therefore the stars are not good circles. The photo was
taken from Tradate (VA, Italy) from 300m a.s.l. exposing for 30 minutes
on Kodak PJM 640ASA. The vignetting is evident, also because it was taken
from the center of a city and in presence of the full moon. If it is processed
as it is, the results would be very ugly for the vignetting. |
Technique
1
The first procedure is the one that gives
the best results, but unfortunately it's not always usable: his employment
is limited to the objects that occupy a limited portion of the frame. The
basic idea consists of getting an image of the original strongly blurred
(mask), and then of subtract it from the original frame. In this way you
remove not only the vignetting, but also the dominant color of the background
sky, reducing it to a pleasant black/grey neutral color.
But let's see how to realize this idea:
-
create a copy of the original image using
the "Duplicate Layer" command (it's in the Layer box, visible using the
command Window/Show Layer, clicking on the little triangle at top right
of the box will appear a menu). Now we have a copy of the original in the
Layer "background copy". We apply a Gaussian Blur filter (command Filter/Blur/Gaussian
Blur) at a high power (try a value of 30-50 pixels). We will get an image
where each detail has disappeared, probably also each trace of the photographed
object. If it's not, you need repeat the gaussian defocussing other times
up to when you doesn't distinguish nothing else than a homogeneus background.
The result of two applications of the gaussian filter is visible in figure
2.

Figure 2
-
Return to the original image (clicking on
the "Background" Layer) and apply a little increase of the brightness,
about 10-20%. This serves for not eliminating all the grain and the dimmest
stars.
-
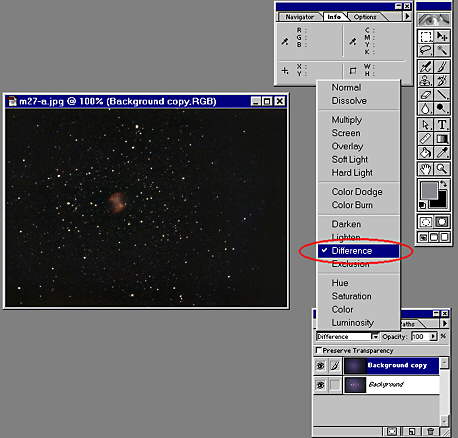
Finally the mask (figure 2) is subtracted
from the original bright image. This is obtained selecting the mask ("background
copy" Layer) and choose the "Difference" option as the blending mode, in
the menu where usually there is "Normal". In figure 3 it's visible the
window of the Merge Control.

Figure 3
-
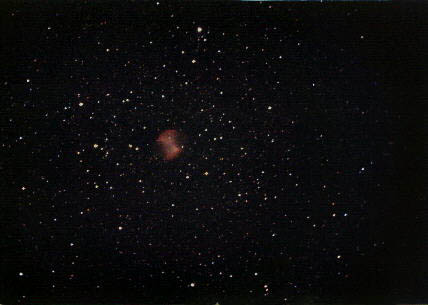
The result is visible in figure 4.

Figure 4
-
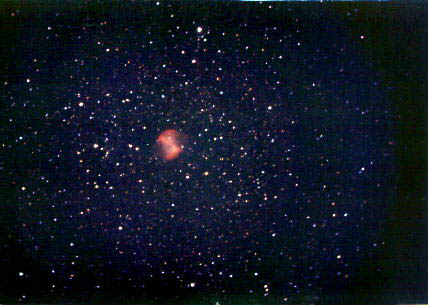
Finally you can elaborate as you like this
image. FirstI have used a level adjustment, because the image is very dark
(ctrl-L), I have increased a little the saturation, I have put a slightly
blue dominant to the sky (personally I think that it's more pleasant).
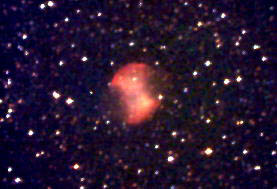
The result is visible in figure 5 and 6 (enlargement).

Figure 5

Figure 6
Technique
2
This tecnique has to be used with images
of objects that cover a big part of the frame (i.e. the Orion nebula or
the Lagoon nebula). For showing the differences with the technique 1, I
have used the same image of M27. The basic idea is of digitally creating
the mask to subtract from the original. This is obtained with the function
that creates the tones between two colors.
But here is in detail the procedure:
-
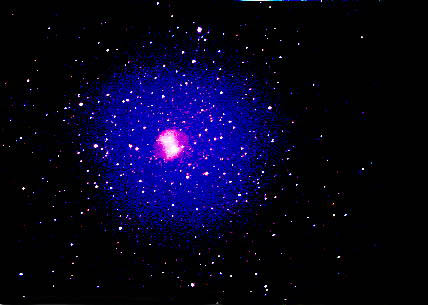
we do a preliminary analysis of the original,
we must determine (more or less) the center of the vignetting. This is
easily measurable increasing a lot the contrast of the image, for getting
an image similar to the figure 7. Then with the mouse we will determine
the center of the circle of vignetting (activate the Info box, command
Window/Show Info). Then write the coordinates of the center on a sheet.

Figure 7
-
Return to the original image (figure 1) and
using the "Eyedropper" tool (visible in the toolbox) select the extreme
colors of the background sky, the black present to the edges of the field
and the blue the most possible near the center, making attention to don't
include a star in the choice of the color or a nebulosity. Then left the
colors in the two spaces for the background and foreground colours.
-
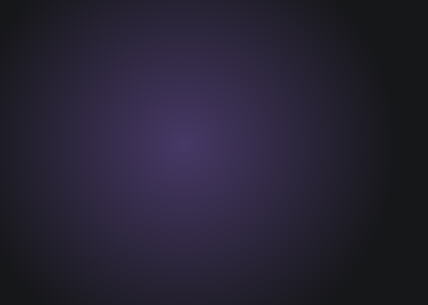
Create a new Layer (box Layer, menu of the
box, commando New Layer). Use the function for creating a circular tone
(prenset in the toolbox as "Circolar Gradient"), beginning from the measured
central point up to the edges, using the two selected colors like extreme
colors. Then the mask obtained (figure 8) is very similar to that created
in the technique 1.

Figure 8
-
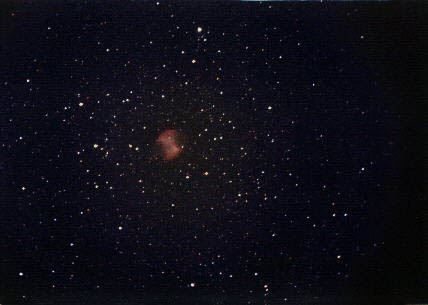
Therefore you have to continue with the elaboration
exactly like with the technique 1: subtract the mask from the brighted
(10-20%) original image and the result is in figure 9.

Figure 9
-
Then process the image as you want (figure
10 and 11 (enlargement)).

Figure 10

Figure 11
Final
comments
To first sight the two techniques could
seem complicated, but once understand the leading idea, they are very simple
and fast to use. In my opinion the first technique it is better because
it doesn't allow you errors like the not perfect centering of the mask
and the not exact scaling of the tones of colors in the mask, but, as visible
from comparing figure 5 and 10, the results of the two techniques are very
similar. However, if possible, it's preferible to use the technique 1 because
it's also easier to perform and then correct also non simmetrical gradients,
like that caused by the prisms of off-axis guider.
Good elaborations!
Coments
from Fabio Falchi
-
before doing the defocussing, it's better
to use the timbre funcion (avaiable in the toolbar of PhotoShop 4) for
removing the brightest stars and objects.
-
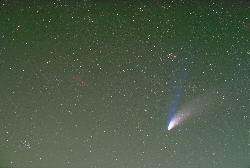
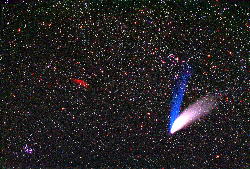
the tecnique can be used also for removing
the gradient of light pollution visible near the horizon. Here is an elaboration
of Hale-Bopp, M45 and the California nebula, and the original image.
Here is how Fabio Falchi elaborated his
image:
-
he has added two originals taken from
two different slides (scanned on a Photo-CD)
-
he made a copy of the image obtained
-
he used the timbre function in PhotoShop
4: while pressing Alt, click on an empty area of the image (area having
a similar density of the background sky of the area of the object to be
removed); then click on the object to remove; the timbre substitute the
comet or the object to be removed with the area previously selected with
the first click. The timbre can be modified as you like (radius, shading,
trasparence...)
-
now the image don't contain the bigger objects,
so it can be defocussed easily with the gaussian filter
-
he subtracted the defocussed image
(darkened a little)
-
he elaborated the image without the gradient,
increasing the contrast and saturation.
Send me your comments or critics on
the technique here exposed, e-mail at: comolli@libero.it.
(Send me also any correction for my not very good English!)
